
A Simple Guide to Effortless Roof Turbine Replacement
If you’ve noticed your home feeling unusually warm, consider replacing your roof turbine. Not only does this affect your comfort, but it can also lead to increased energy consumption as your cooling systems are forced to work overtime. Adequate attic ventilation through a well-functioning roof turbine can reduce the strain on air conditioning systems.
Keep reading to learn how a simple update can improve your home’s ventilation. This guide will detail the roof turbine replacement process, show you how to check if a replacement is necessary, provide maintenance tips, discuss replacement costs, and highlight the benefits of upgrading to a powered fan.
The Basics of Roof Turbine Replacement
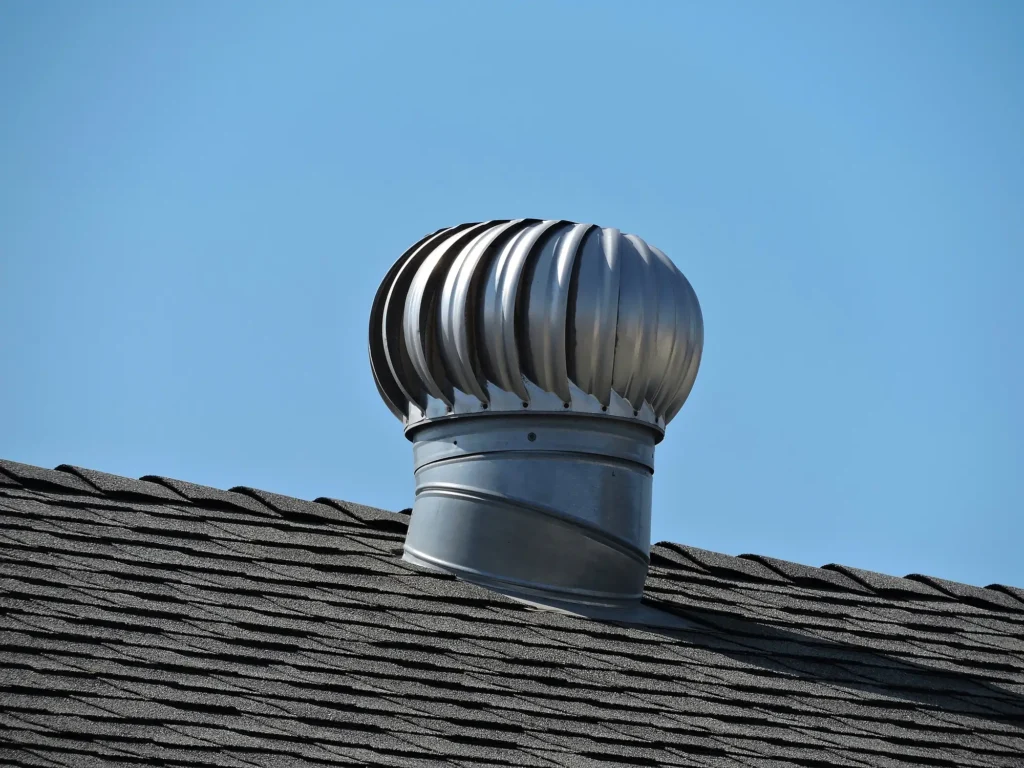
A roof turbine, often called a turbine vent, allows air to escape from your attic. This helps regulate the temperature and humidity inside the house. Here are the key topics you need to know about turbine vent replacement:
Core Component
The central part that usually needs replacement in a roof turbine is the vent. The turbine vent has several parts, including the rotor, which needs to rotate freely. Over time, these components can wear out or become obstructed, impacting their effectiveness.
Signs It Needs Fixing
You’ll know it’s time to look at your roof turbine when you notice a decrease in airflow or when the turbine stops rotating. Other signs include unusual noises during windy days or visible rust and damage on the vent. These symptoms suggest that the vent is struggling to perform its essential role of allowing air to flow correctly through your attic.
Replacing a worn or damaged turbine vent involves removing the old vent from the roof deck, ensuring the vent hole is clear of obstructions, and setting a new vent to fit securely. This process typically involves removing old roofing nails, positioning the new turbine, and securing it with new nails. Each nail head must be adequately sealed to prevent leaks.
Essential Roof Turbine Maintenance Tips
Maintaining roof vents ensures your home remains cool, dry, and efficiently ventilated. Proper care can prevent heat buildup and moisture damage in your attic space. Here are the turbine vent maintenance tips for prolonging the life of your roofing system:
Tip 1: Inspect the Vents Regularly
Check your vents for signs of damage at least twice a year. Look for obstructions or debris that could impede airflow and remove them.
Tip 2: Check for Leaks and Rust
During inspection, pay close attention to each vent’s flange and base. Gently lift shingles with a pry bar to get a better look. Look for rust on metal parts and cracks or breaks in plastic vents, which could allow water to enter your attic.
Tip 3: Secure Loose Components
If any vents are loose, use screws to secure them. For ridge vents and box vents, you might need three screws along the top edge to ensure they are firmly attached. Make sure they are covered with proper roofing cement to prevent leaks.
Tip 4: Replace Damaged Shingles
Check the shingles around each vent. If you find damaged or missing shingles, replace them promptly to prevent water damage. Roof vent installation often disturbs surrounding shingles, so this is one of the most common areas for leaks to develop.
Tip 5: Ensure Adequate Sealant
Examine the sealant around each vent. Over time, the sealant can dry out and crack. If the existing bead of sealant is deteriorating, apply a fresh layer to ensure a watertight barrier.
Tip 6: Prevent Pest Access
Ensure all vent openings are covered with mesh that prevents pests from entering but allows air to flow freely. This is especially important for homes in areas prone to pest issues.
Breaking Down the Cost to Replace Roof Turbine
Knowing the costs of replacing a turbine vent can help homeowners budget effectively for this essential home improvement. Here are the components and their associated costs:
Roof Turbine Unit
Estimated Cost: $100 – $250
The price varies based on the type and quality of the turbine. More durable models tend to be at the higher end of this range.
Installation Labor
Estimated Cost: $150 – $400
Labor costs depend on the complexity of the installation, including the need to cut a hole near the roof peak and ensure proper insulation around the installed unit. The location and accessibility of your roof can also affect these costs.
Additional Materials
Estimated Cost: $50 – $100
This includes shingles to install around the new turbine, sealants, and possibly a new ridge cap if the existing one needs to be adjusted or replaced to accommodate the turbine.
Removal of Old Vent
Estimated Cost: $50 – $150
The cost of removing an existing vent depends on the type being replaced. Static vents and older turbines might require more effort to remove, especially if they are sealed or integrated tightly with the roofing material.
Upgrading and Replacing Roof Turbine with Powered Attic Fan
Upgrading your home’s ventilation system by replacing a traditional roof turbine with a powered attic fan can improve air circulation and reduce cooling costs. Powered fans actively exhaust hot air from your attic, leading to better temperature control throughout your home.
For an easy installation, here’s a step-by-step guide:
Step 1: Choose the Right Powered Attic Fan
Select a fan that fits your attic space. Consider factors like attic size and your climate. Ensure the fan is designed for a flat or pitched roof, depending on your home’s design.
Step 2: Remove the Old Roof Turbine
Use the pry bar to remove shingles or roofing materials around the turbine. Disconnect the turbine and use the screwdriver to remove the fasteners holding it in place.
Step 3: Prepare the Roof Opening
If the existing hole for the vent is unsuitable, use the saw to adjust the size. Make sure the hole matches the specifications of the new powered attic fan for a snug fit.
Step 4: Install the Powered Attic Fan
Place the new fan in the prepared opening. Use the drill to fasten it securely to the roof. For optimal performance, ensure it is installed near the center of your roof.
Step 5: Seal and Waterproof
Apply roofing cement around the base of the fan. Seal any gaps with sealant to prevent water ingress. This is essential to maintain the integrity of your roof installation.
Step 6: Connect to Power Source
Connect the fan to your home’s HVAC system or an independent power source. Ensure all electrical connections are safe and meet local electrical codes.
Step 7: Test the Installation
Turn on the fan to ensure it operates correctly. Check for any unusual vibrations or noises which may indicate improper installation.
Choose Odyssey Remodeling for Your Roofing Needs
Roof turbines play a crucial role in maintaining proper ventilation in your home. Ensuring these systems function correctly helps prevent mold growth and excessive energy costs. Upgrading or replacing your turbine vent can improve home comfort and lower utility bills.
At Odyssey Remodeling, we prioritize your satisfaction by providing high-quality roof replacement services at competitive prices. Our projects are backed by competitive financing options and a 100% satisfaction guarantee. We’ll make it right if our work doesn’t meet industry-leading standards.
Ready to enhance your home’s ventilation? Call 855-913-3770 to get a free estimate. Let us help you breathe easier with our expert roof replacement services.
Frequently Asked Questions
What types of roof vents are best for ensuring proper attic ventilation?
Different roof vents, including soffit, gable, and ridge vents, are crucial for adequate attic ventilation. Soffit vents allow fresh air to enter the roof’s lowest point. Ridge vents, installed on top of the roof ridge, enable hot air to escape. These vents are essential for maintaining the balance between air intake and exhaust.
Are soffit vents easy to install, and how do they improve attic ventilation?
Soffit vents are easy to install near the eaves of your house. They are pivotal in ventilating an attic by allowing cool air to enter at the lowest point. This pushes hot air towards the ridge, where it escapes through ridge vents. This installation enhances the natural airflow, optimizing attic ventilation.
How important is it to install vents near the ridge of my roof?
Having vents installed near the ridge of your roof is crucial for proper attic ventilation. This strategic placement allows hot air that rises to the top of the attic space to escape efficiently. This is vital in preventing heat and moisture accumulation, which can cause damage to roofing shingles and lead to other structural issues.
Can adding gable vents help in a poorly ventilated attic?
Yes, adding gable vents at the gable end of the house can enhance attic ventilation primarily when used with other vent types. Gable vents promote cross ventilation, removing the hot air trapped at the attic’s highest point.
Why is ventilation vital for the longevity of roofing singles?
Proper ventilation is critical to extending the life of roofing shingles. Poorly ventilated attics can lead to heat buildup under the shingles, accelerating wear and causing premature failure. Adequate ventilation ensures a more relaxed roof environment, maintaining the shingles’ integrity and prolonging their lifespan.