
How to Install Hardie Board Siding
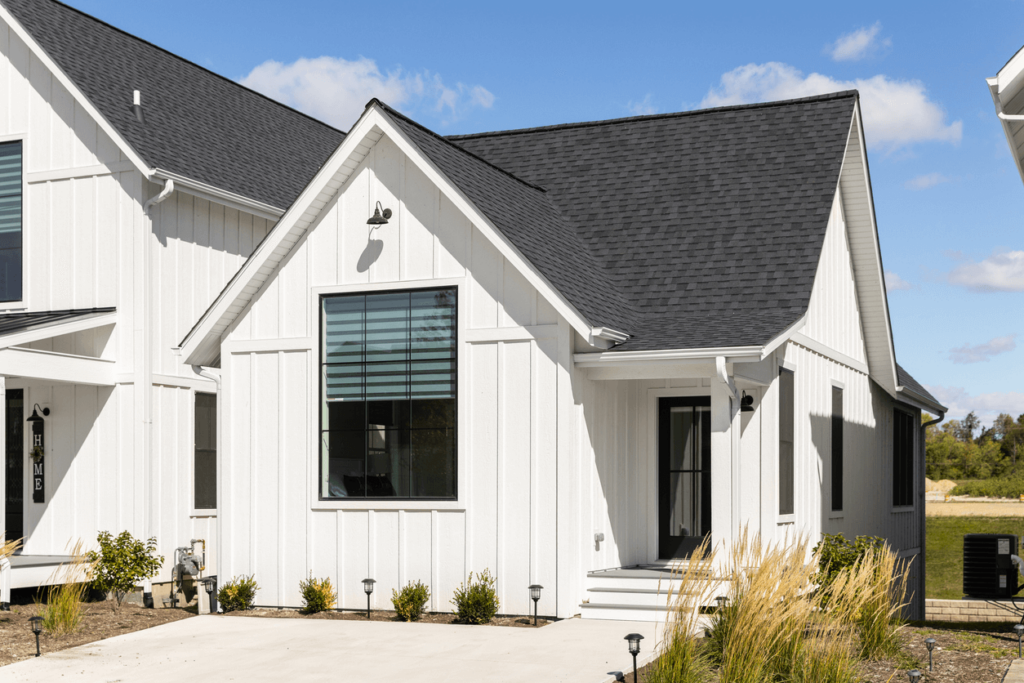
If you are looking for a durable, low-maintenance, and attractive siding option for your home, consider Hardie Board siding. Hardie board siding, or cement board siding, is made of fiber cement. Fiber cement is a mixture of sand, cement, and cellulose fibers. It can mimic the look of wood, stone, or brick, but it is more resistant to fire, moisture, insects, and rot.
In this blog post, we will show you how to install Hardie board siding on your own. You will need some basic tools, materials and take proper safety precautions, but the result will be worth it. Let’s get started!
To install Hardie board siding, you need to measure and cut the boards, attach them to the house using nails, and seal the joints with flashing and caulk.
1. Understanding Hardie Board Siding
What is Hardie Board Siding?
Hardie board siding, also known as fiber cement siding, is a durable material made from cement, sand, and cellulose fibers. It mimics the appearance of wood, stucco, or masonry and is known for its resistance to fire, rot, and termites.
Why Choose Hardie Board Siding?
There are numerous benefits to choosing Hardie board siding for your home. It’s low-maintenance, long-lasting, and comes in various styles and colors. Its durability makes it a cost-effective choice over time compared to other siding materials.
The Components of Hardie Board Siding
Hardie board siding typically comes in planks, panels, or shingles. Planks are the most common choice for a traditional appearance. Panels are suitable for a contemporary look, and shingles are often used for a rustic or cottage-style home.
The History of Hardie Board Siding
Hardie board siding was developed in Australia in the early 20th century and has since become popular around the world. Its invention revolutionized the construction industry by providing an alternative to traditional wood siding.
2. Necessary Tools and Materials
Before diving into the installation, gathering all the necessary tools and materials is crucial.
Required Tools
You will need a tape measure, chalk line, circular saw with a carbide-tipped blade, siding gauge, hammer or nail gun, and utility knife.
Essential Materials
Aside from the Hardie board siding itself, you’ll also need galvanized or stainless steel nails, weather-resistant barriers, flashing, and caulking.
Safety Gear
Safety should be your top priority. Wear safety glasses, a dust mask, and gloves to protect yourself from dust and debris.
Rent or Buy?
Consider whether renting or buying the tools for this project is more cost-effective, especially if you’re a one-time DIYer.
Once you have all the tools and materials in place, you’re ready to move on to the next step.
3. Site Preparation and Safety
Preparing the site ensures a smooth installation process.
Remove Old Siding
Before installing the new siding, you need to remove any existing siding and repair any damaged areas of the wall.
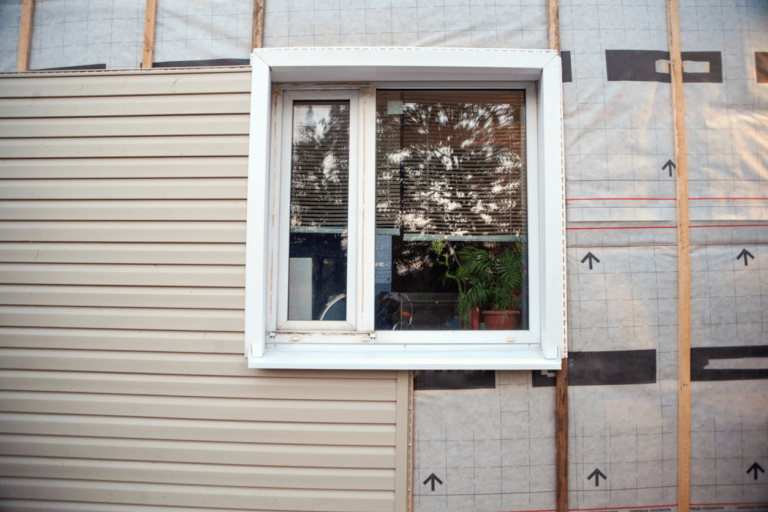
Install Weather-Resistant Barrier
Installing a weather-resistant barrier over the sheathing is essential to protect the walls from moisture.
Safety Precautions
Make sure the area is free of obstacles, and always follow the manufacturer’s safety instructions.
Disposal of Old Materials
Plan how to dispose of the old siding and construction debris responsibly.
4. Taking Measurements
Accurate measurements are essential for a successful installation.
Measure the Area
Use a tape measure to calculate the square footage of the area you want to side.
Account for Windows and Doors
Subtract the area of windows and doors from the total square footage to determine how much siding you need.
Order Extra Material
It’s wise to order 10-15% extra material to account for waste and mistakes.
Create a Layout Plan
Mark the placement of each siding piece on the wall using a chalk line to ensure a straight and level installation.
5. Cutting the Hardie Board Siding
Cutting Hardie board siding requires precision and the right tools.
Using a Circular Saw
A circular saw with a carbide-tipped blade is ideal for making straight cuts.
Cutting for Openings
Use a jigsaw or utility knife for precision when cutting around windows and doors.
Safety When Cutting
Always wear safety gear and follow the manufacturer’s guidelines to avoid accidents.
Disposing of Dust and Debris
Have a plan for collecting and disposing of the dust and debris generated during cutting.
Here’s where the action begins. Now that your boards are cut, it’s time to install them.
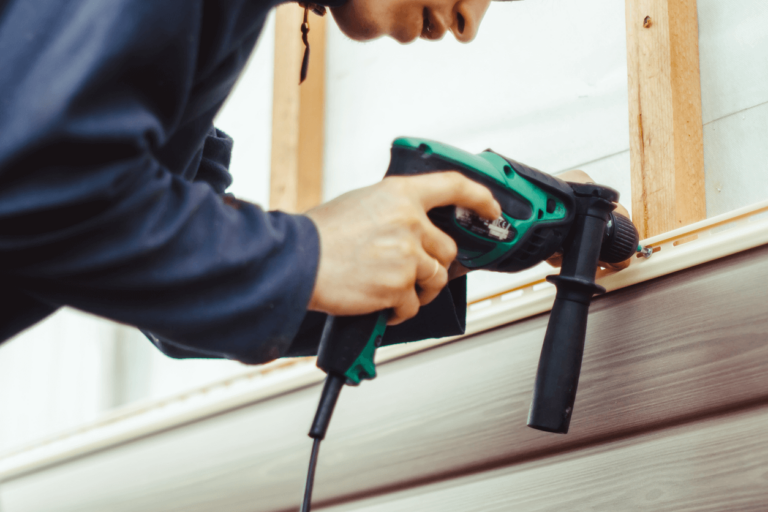
6. Installing the Siding
Here’s where the action begins. Now that your boards are cut, it’s time to install them.
Start From the Bottom
Begin installing the siding from the bottom of the wall and work your way up.
Nailing the Boards
Attach the boards to the wall using galvanized or stainless steel nails, making sure not to nail them too tightly.
Leaving Gaps
Leave a small gap between boards and trim pieces to allow for expansion and contraction.
Flashing and Caulking
Install flashing over windows and doors, and apply caulk to the joints for weatherproofing.
7. Handling Corners and Trim
Corners and trim require special attention for a polished look.
Inside and Outside Corners
Use corner trim for the inside and outside corners to give your siding a finished appearance.
Choosing the Right Trim
Select trim that complements the style and color of your Hardie board siding.
Installing Trim
Install trim before the siding, nailing it into place and making sure it’s level.
Sealing the Trim
Apply caulk where the trim meets the siding to ensure a weather-tight seal.
8. Painting or Finishing
Giving your siding the perfect finish is an essential step.
Pre-Painted or Primed
Choose between pre-painted Hardie board siding or primed boards that you can paint after installation.
Selecting Paint
If painting yourself, use high-quality acrylic paint designed for use on fiber cement siding.
Painting Techniques
Use a paintbrush or roller for smaller areas and a paint sprayer for larger surfaces.
Maintenance
Keep in mind that your siding will need occasional maintenance, including repainting every 10-15 years.
9. Cleaning and Maintenance
A little maintenance goes a long way in preserving the beauty of your siding.
Regular Cleaning
Clean your siding regularly with mild soap and a soft brush to remove dirt and grime.
Addressing Damage
Promptly repair any cracks or damage to prevent water infiltration and further deterioration.
Painting and Caulking
Repaint and re-caulk as needed to maintain the siding’s appearance and performance.
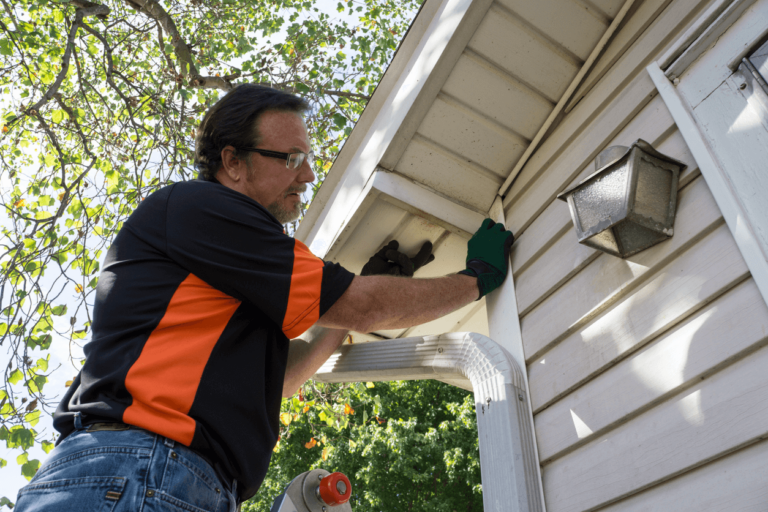
Professional Inspection
Consider having a professional inspect your siding every few years to ensure it’s in good condition.
Wrapping Up
Now that your siding is installed, it’s time to wrap up the project. Walk around your home to inspect the siding and make sure it’s securely attached and sealed. Clean up all construction debris and tools from the work site. Take a moment to appreciate your hard work on this project, and maybe even throw a small gathering to show off your newly-sided home. Set a reminder for regular maintenance and inspection to ensure your Hardie board siding remains in prime condition for years to come.
Installing Hardie board siding is a significant investment in your home. With this comprehensive guide, you are now well-equipped to tackle this project and give your home the protection and aesthetic appeal it deserves.
Thinking about using Hardie Board siding for your project? The experts at Odyssey Home Remodeling have installed Hardie Board for countless happy customers! We would love to discuss your project. For more information on Hardie siding, visit our Hardie product page or contact us to learn more.